
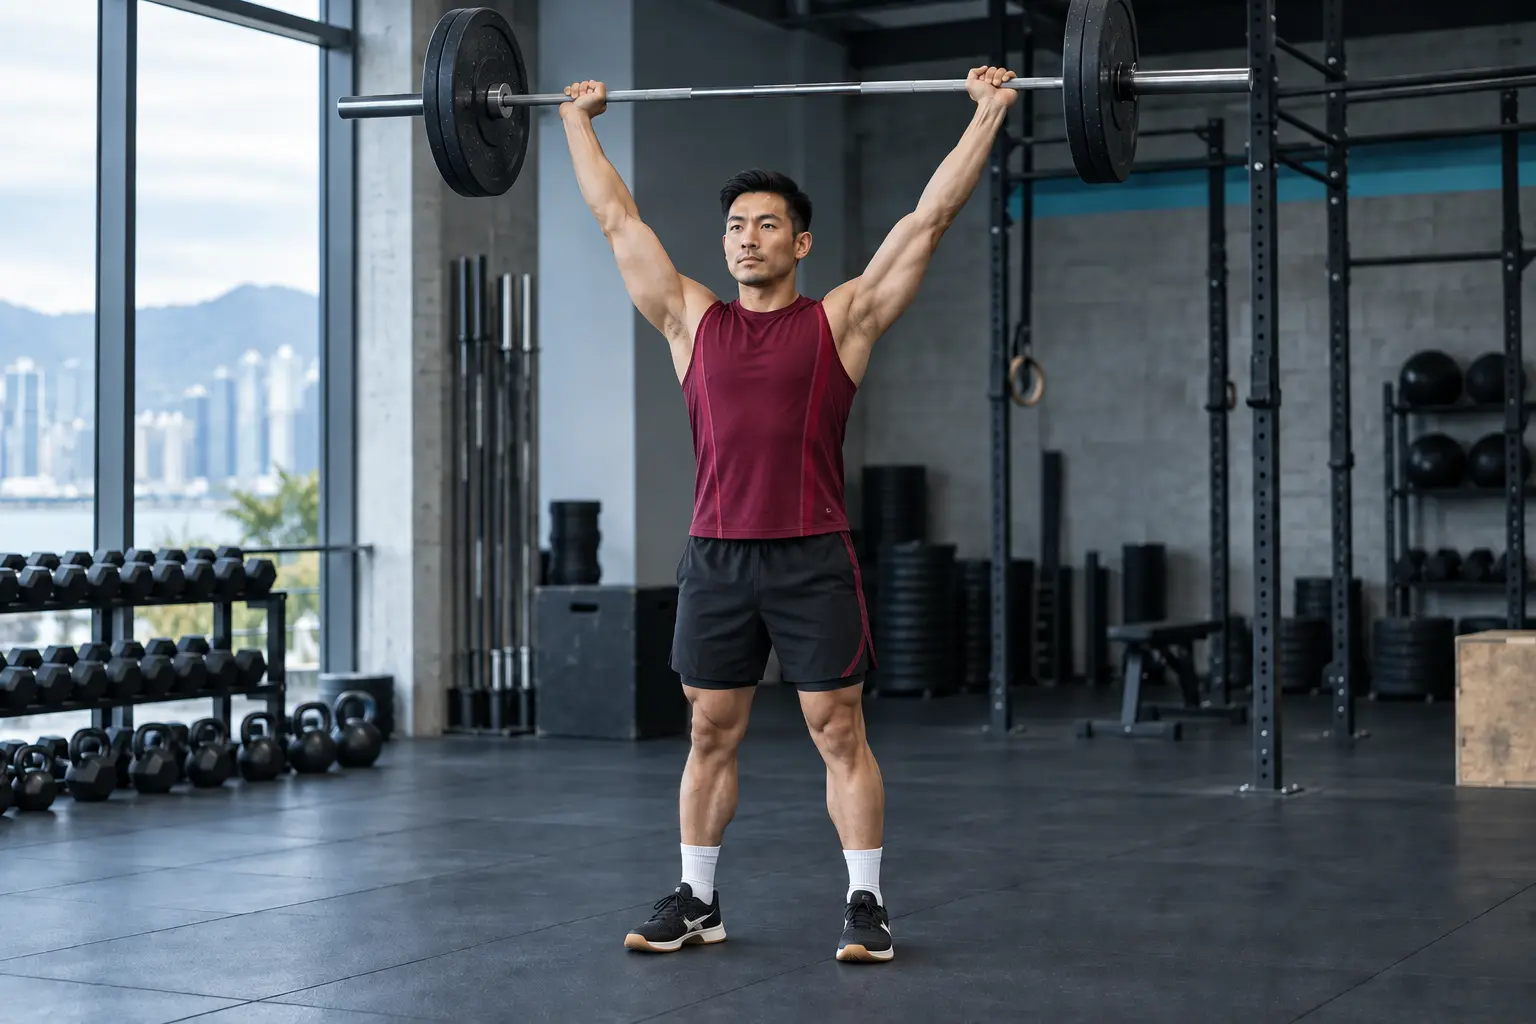
A strict press may feel fine while a jerk hurts. Pull-ups may be comfortable until kipping volume rises. A snatch may look and feel solid when fresh, then become painful late in a workout. Those differences are not contradictory: the demand changed.
CrossFit combines barbell lifting, gymnastics, conditioning, speed, and repeated transitions. Shoulder rehabilitation therefore has to identify the exact exposure that is provocative. The plan should address the relevant movement and training demands rather than relying only on an isolated range-of-motion test or a low-load band exercise.
Why shoulder symptoms vary between CrossFit movements
Shoulder symptoms can occur when the demands of a specific movement exceed the athlete's current capacity. Relevant variables include position, load, speed, repetitions, grip, leg assistance, direction of force, transitions, and fatigue. The history, shoulder and upper-quarter examination, training dose, and exact movement should be considered together.
CrossFit overhead movements have different physical demands.
Each movement asks the shoulder to accept a different combination of force, timing, range, and support. That is why swapping one overhead exercise for another can help—or unexpectedly feel worse.
Strict press
Continuous pressing strength, controlled bar path, and a lockout reached without leg drive.
Push press
Leg-generated momentum, a faster transition, and often more load for the shoulder to finish and control.
Jerk & snatch
Rapid force transfer and a receiving position that must become stable immediately under the bar.
Overhead squat
A sustained, often wide-grip lockout while the trunk, hips, knees, and ankles move beneath the load.
Pull-up & kip
Hanging traction, repeated elevation, and—when kipping—fast cyclic transitions between hollow and arch positions.
Handstand & HSPU
Closed-chain compression through the hand, elbow, and shoulder while bodyweight is controlled in inversion.
Assessment should document the phase of the repetition in which symptoms begin, the load being used, and how much work has been completed beforehand.
How to scale the next workout
These are options to test for gradual, nontraumatic symptoms—not instructions to train through a new injury. Check a light, controlled version first. A substitute is useful only if it is more tolerable for you; a lighter exercise can still hurt.
- Pressing hurts only near the top: try a shorter comfortable range, less load, or a landmine press. Do not force the last few degrees or assume the substitute is automatically safe.
- Jerks or snatches hurt during the catch: remove fast receiving repetitions temporarily. If comfortable, keep controlled presses, lower-body strength work, and technical practice with PVC outside the painful range.
- Kipping pull-ups hurt: reduce hanging volume and the swing first. Feet-assisted hanging, an assisted strict pull-up, or a row may be alternatives, depending on which is comfortable.
- Handstand push-ups hurt: reduce inversion and bodyweight loading. A wall or incline push-up may allow pressing practice without recreating the same demand.
- Pain appears late in the WOD: use smaller sets, longer rest, fewer total repetitions, or separate technical lifts from conditioning. Do not add extra warm-up drills while leaving the provoking workload unchanged.
Check symptoms during the session and the following morning
Note your usual resting symptoms, reaching comfort, and a familiar light movement before training. Mild, familiar discomfort may be acceptable in some rehabilitation plans if it stays steady and settles afterward; there is no pain score that is safe for every shoulder. Stop the exercise for sharp or escalating pain, slipping, unexpected weakness, or numbness.
If the shoulder is noticeably more painful or less useful the next morning, reduce the next exposure rather than progressing. If the same dose is repeatedly tolerable during and after training, increase just one demand. Persistent worsening, sleep disruption, or repeated inability to progress warrants an assessment.
Overhead lockout depends on the shoulder, scapula, trunk, and lower body.
In a barbell lockout, the load has to be organized over the athlete's base of support. The upper arm, rotator cuff, shoulder blade, rib cage, trunk, pelvis, and legs each contribute. In a handstand, the hands stay supported while the shoulder controls bodyweight above them. That requires its own position-specific strength and endurance; a comfortable barbell press does not prove readiness for it.
The scapula normally upwardly rotates and changes orientation as the arm elevates. A universal instruction to pin the shoulder blades “down and back” can block the movement an athlete needs overhead. A cue is useful when it improves force, confidence, symptom response, or bar control for that person.
If the lockout is comfortable while fresh but changes late in a set, the missing quality may be endurance, timing, or exposure to speed—not simply passive mobility.
Rib-cage position should be assessed with the movement and symptoms.
Some rib-cage and thoracic movement is expected as the arms travel overhead. A visible arch or rib flare may reflect the range being requested, grip width, bar path, shoulder or thoracic options, fatigue, or the athlete's preferred way to finish the lift. Its appearance alone does not reveal why the shoulder hurts.
Aggressively forcing “ribs down” can make an overhead position feel crowded or reduce the available reach. In another athlete, a modest change in trunk strategy may improve the painful phase immediately. Compare the symptom, bar position, breathing, force, and repeatability before deciding that a cue belongs in the plan.
Several factors contribute to overhead range and control.
Useful overhead range is not produced by one joint. The shoulder joint contributes elevation and rotation; the scapula moves on the thorax; the thoracic region adapts; and the trunk helps organize the load. In an overhead squat, hip and ankle options can also change how much forward trunk angle the shoulder must accommodate.
Shoulder joint
Elevation and rotation requirements change with grip width, bar path, and whether the task is hanging, pressing, or receiving.
Lat & teres major
These tissues can limit a relevant range for some athletes. Stretching is relevant when testing shows that it changes the target position.
Scapular motion
Upward rotation and other three-dimensional adjustments help the shoulder reach and load overhead; the scapula is not meant to stay fixed.
Rotator cuff capacity
The cuff contributes more than band external rotation: it must produce force, center the joint, decelerate, and repeat work in task-specific positions.
Scapular dyskinesis is an observation, not a diagnosis. A systematic review found it more often in overhead athletes than nonoverhead athletes, but it also appeared frequently without symptoms. A shoulder-blade exercise is most useful when it changes something that matters—not simply because one side looks different.
If everyday reaching is also painful, the broader guide to shoulder pain when raising the arm explains how the history, motion, strength, and imaging findings are interpreted.
Exercise selection should follow the findings from the examination.
These exercises are examples rather than a sequence for every athlete. Selection should target a measurable limitation in range, control, strength, or endurance that is relevant to the painful movement. The starting range, assistance, load, and volume should match the presentation and any medical restrictions.
When passive motion is available but active control is limited, additional stretching may not address the relevant problem.
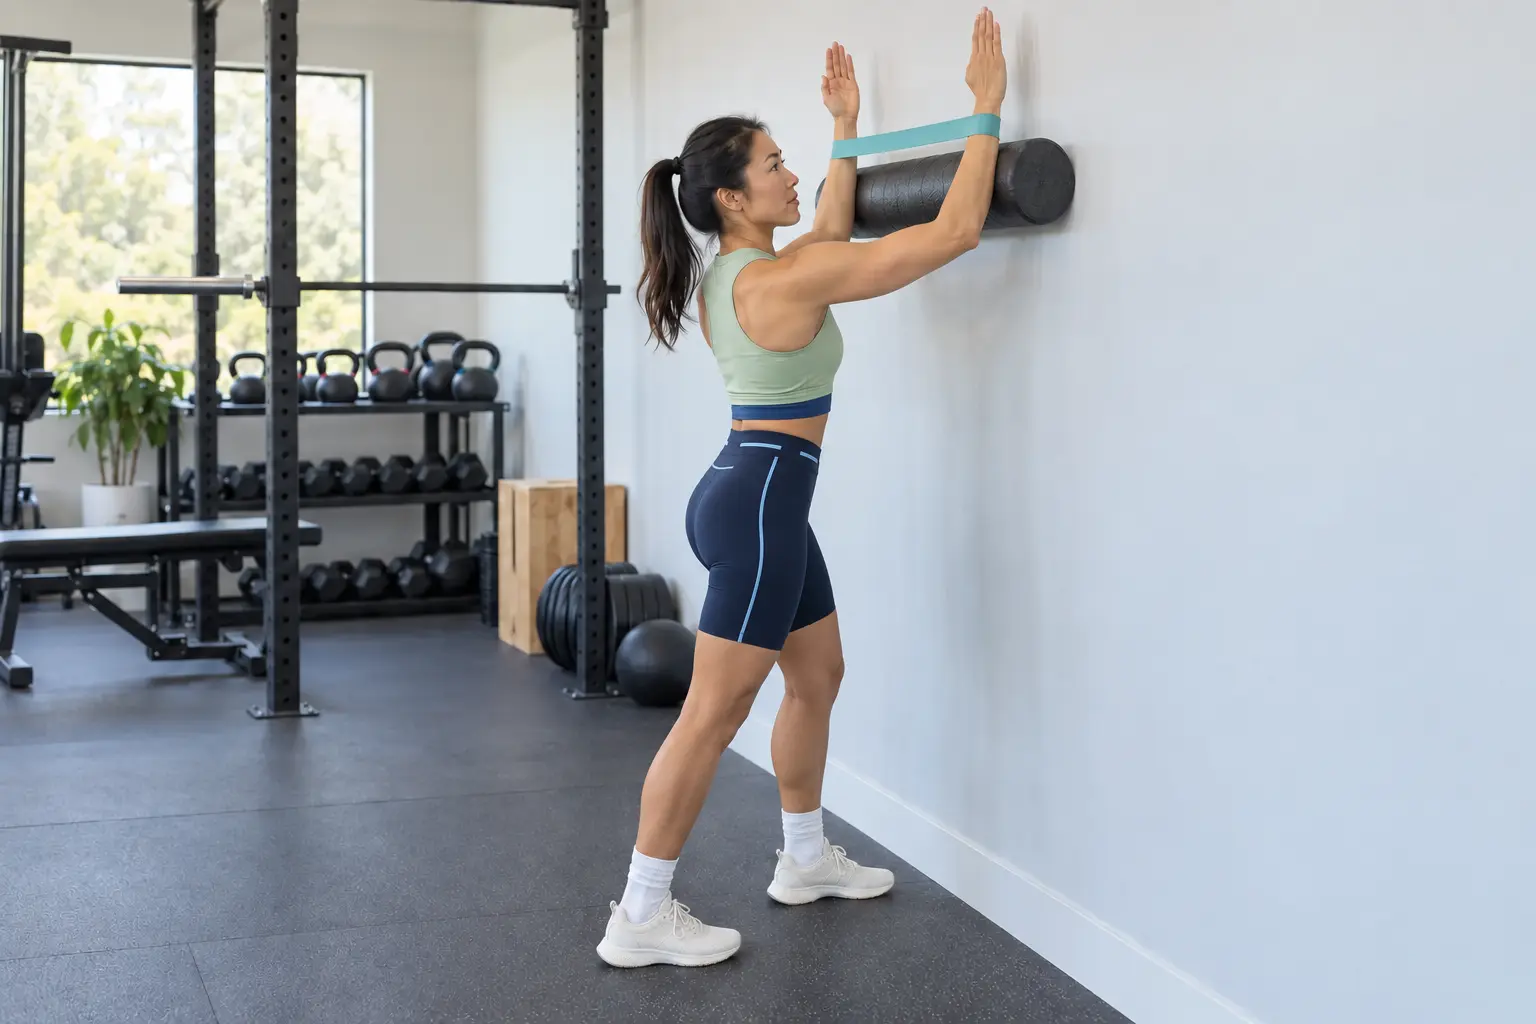
Face pull to Y-press
Secure a light band in front of you around face height. Pull toward the face with the elbows bent, then reach upward into a comfortable Y and return slowly. Let the shoulder blades move upward as the arms rise; do not pin them down. Reduce tension or range if you need to lean back to finish. One example dose is 2 sets of 6–8 controlled repetitions. Skip this variation if it reproduces instability or increasing pain; it is not required for every shoulder.
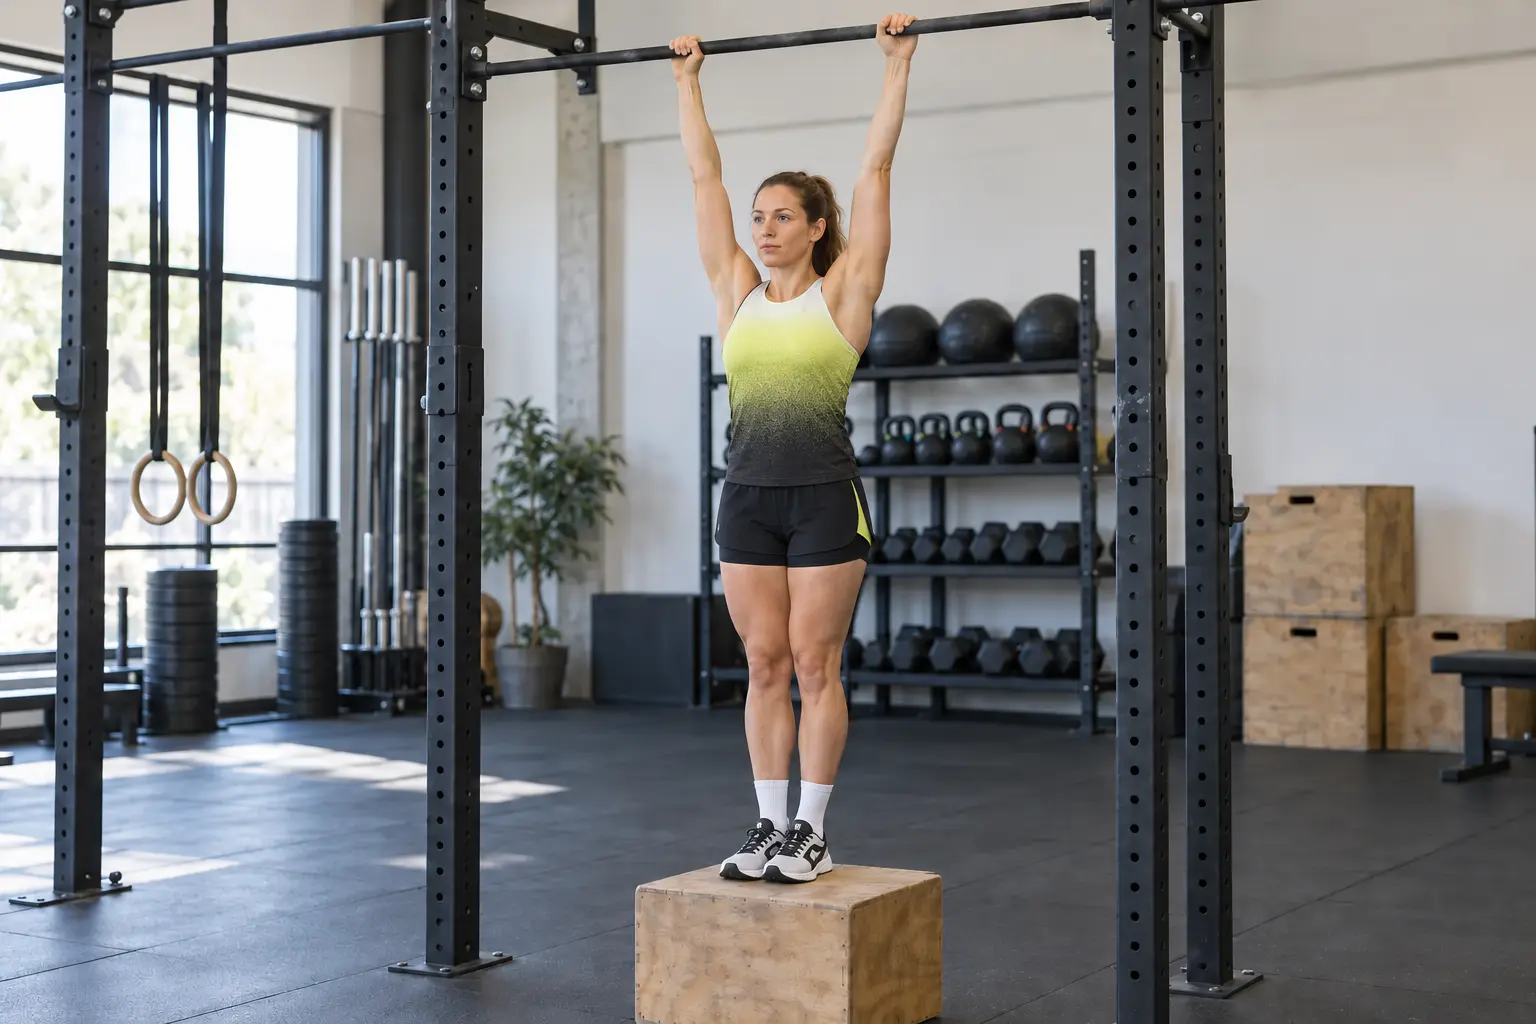
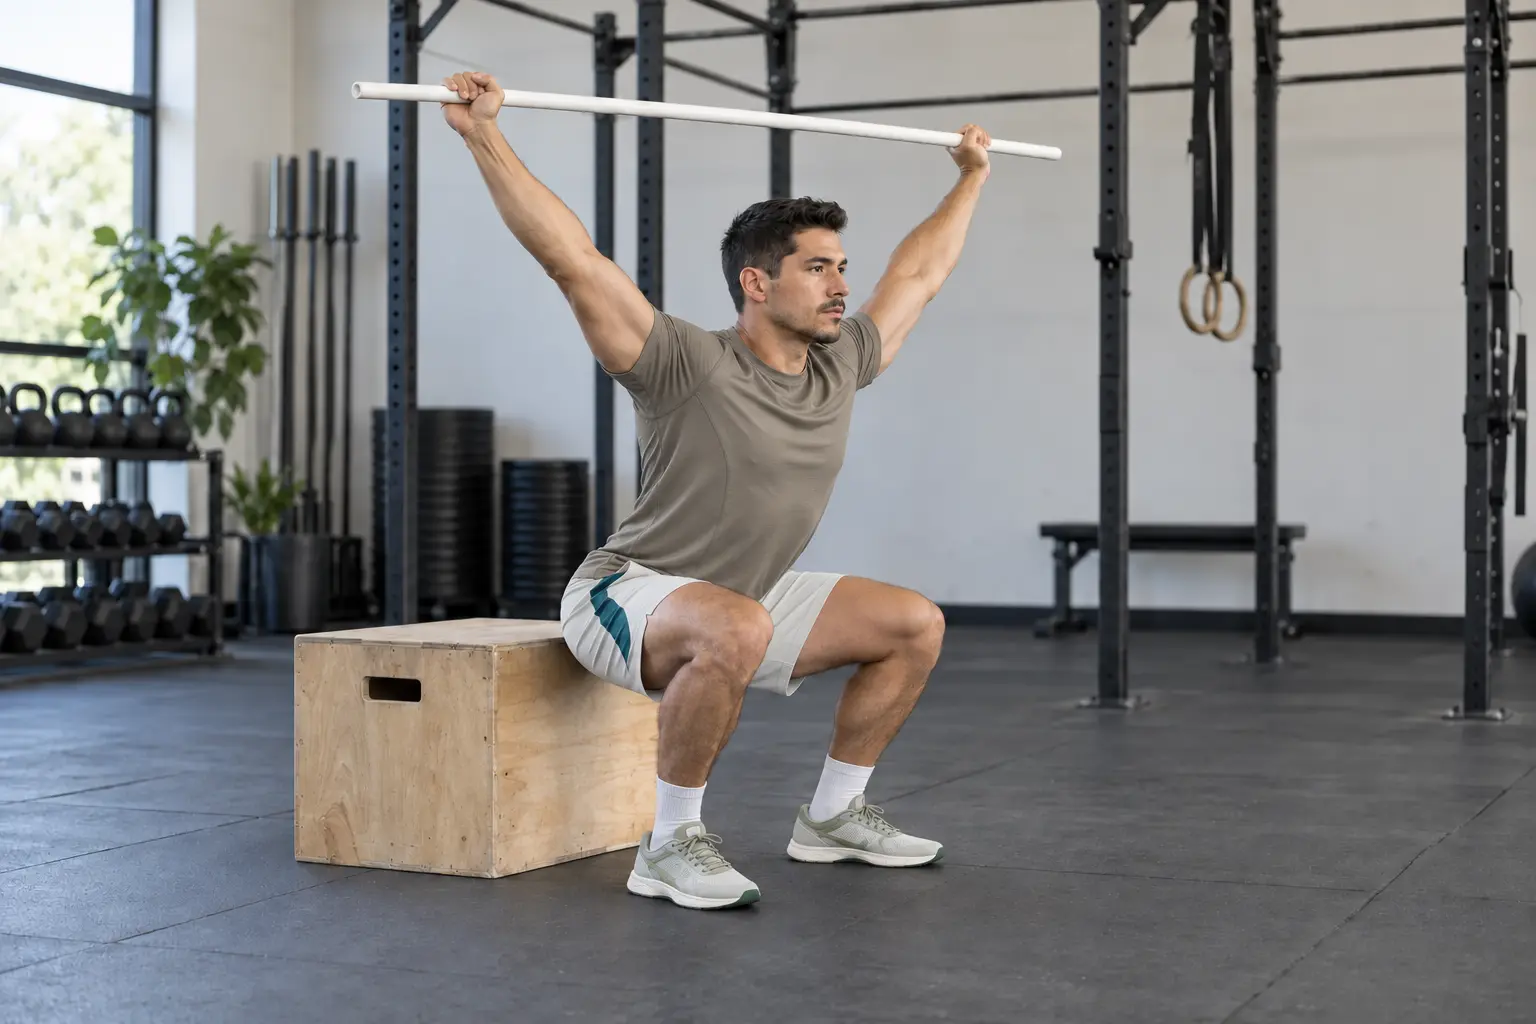
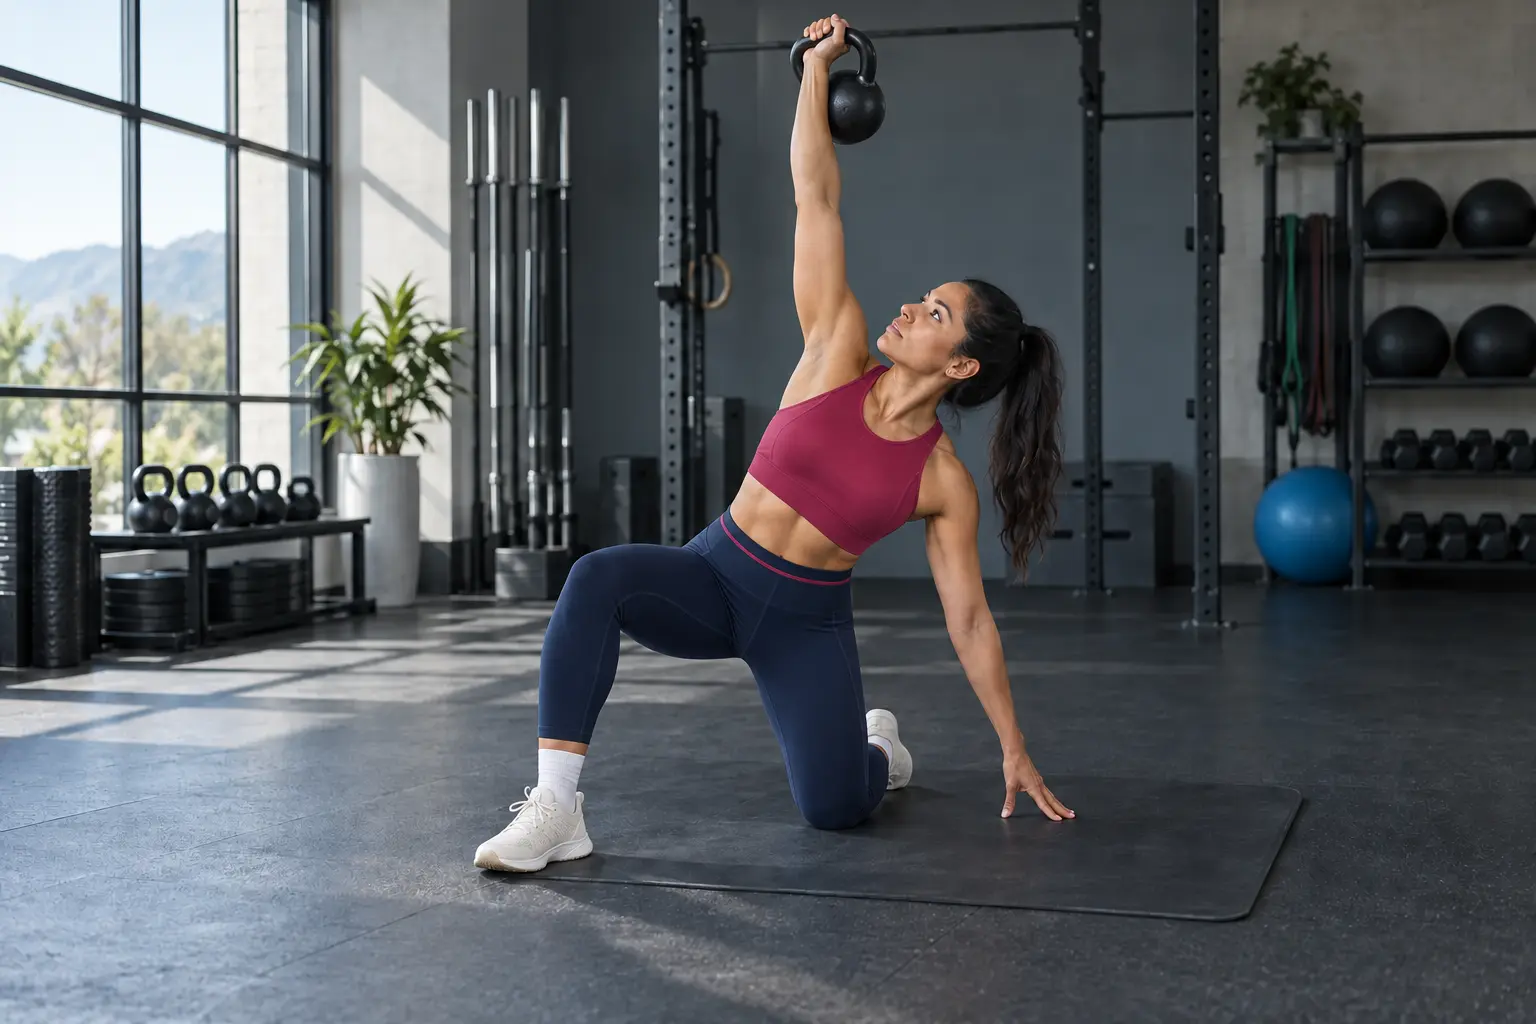
- Re-test the target movement. A comfortable light repetition can show an immediate response. Strength and endurance changes take repeated practice; do not judge an exercise only by whether it changes pain on day one.
- Progress one variable at a time. Add range, load, speed, repetitions, or density separately enough to interpret the response.
- Check the delayed response. A tolerable session still needs a stable later-day and next-day response before the dose advances.
- Review progress over time. Look for improved load tolerance, repetitions, confidence, or the next-day response. Reconsider a drill that repeatedly aggravates symptoms or is not contributing to the goal.
Return to CrossFit should progress toward workout-specific volume and fatigue.
Clinic-based exercises should be followed by graded exposure to touch-and-go snatches, high-repetition pull-ups, handstand push-ups after conditioning, or the other workout demands relevant to the athlete. Progressing one variable at a time makes the response easier to interpret.
- 01
Establish a tolerable range and training dose.
Keep useful lower-body, pulling, conditioning, or modified overhead work when the presentation allows it.
- 02
Increase strength in the required positions.
Match the grip and direction that the task needs instead of assuming one generic cuff exercise transfers everywhere.
- 03
Practice controlled overhead loading.
Use carries, holds, controlled presses, hanging, or closed-chain work according to the goal and symptom response.
- 04
Reintroduce the sport-specific movement while fresh.
Reintroduce the press, jerk, snatch, pull-up, or handstand with enough rest to assess quality and response.
- 05
Increase repetitions and transitions.
Progress repeat volume, cycling, grip changes, and movement combinations before asking for maximal density.
- 06
Add fatigue and workout-specific demands.
Use the workout's actual load, order, pace, and recovery demands gradually, then monitor the later-day and next-day response.
Readiness for a high-repetition snatch workout cannot be inferred from a few pain-free low-load band repetitions.
The broader guide to squat, deadlift, press, and CrossFit pain explains how range, load, volume, tempo, and exercise selection can keep training productive during rehabilitation.
Clinical evaluation for overhead shoulder pain in CrossFit
- Clarify the mechanism and safety boundary. Distinguish a gradual training response from trauma, instability, marked weakness, neurologic change, or another condition needing medical workup.
- Map the exact painful phase. Is it the drive, turnover, receiving position, lockout, descent, hang, kip transition, press-out, or late-workout repetition?
- Measure active and passive motion. Compare the shoulder, scapular contribution, thoracic options, neck and neurologic findings when relevant, and the positions required by the athlete's grip.
- Test force and endurance. Examine cuff and shoulder-girdle capacity in useful positions rather than relying on one low-load test.
- Reproduce the real task. Compare a fresh technical repetition with controlled changes in range, load, tempo, grip, support, or fatigue.
- Identify safe training modifications. Modification should preserve meaningful fitness when it is safe while creating room to rebuild the limiting demand.
The 2022 Bern shoulder consensus emphasizes principle-based load and risk management because high-quality evidence for a single return-to-sport formula is limited. In practice, readiness combines clinical findings, task capacity, training response, confidence, and the consequences of the athlete's chosen workout or competition exposure.
Learn more about Limitless movement assessment and one-on-one sports rehabilitation.
Example: symptoms during repeated jerks after rowing
This example combines patterns seen in practice; it does not describe one identifiable patient. Individual presentations and results vary.
Consider an athlete who can strict press moderate weight without symptoms but develops familiar outer-shoulder pain while cycling jerks after rowing. Motion is usable and force is reassuring when fresh. The symptom appears as the receiving position becomes less repeatable and the athlete begins pressing the bar out late in each repetition.
A plan might retain strict pressing and lower-body conditioning, reduce jerk density temporarily, build position-specific cuff and overhead endurance, and restore clean receiving repetitions while fresh. Transitions and rowing fatigue can then be reintroduced gradually while the symptom response and movement quality are monitored.
Common questions
Practical answers for the next step.
Should I stop all overhead training if my shoulder hurts?
Not automatically. A sudden injury, deformity, substantial weakness, instability, or progressive neurologic symptoms needs a more cautious assessment. In many nontraumatic presentations, one or more variables—range, load, speed, repetitions, grip, movement choice, or workout density—can be modified while useful training continues and the limiting capacity is rebuilt.
Does rib flare mean I have poor shoulder mobility?
No. Rib-cage movement is part of reaching overhead, and visible flare is a movement strategy rather than a diagnosis. It may reflect the range being requested, bar path, load, fatigue, thoracic or shoulder motion, or simply the athlete's chosen strategy. The useful test is whether a change improves the symptom or the task without creating a new problem.
Is scapular winging causing my shoulder pain?
Not necessarily. Scapular dyskinesis describes an observed movement pattern; it does not identify a painful tissue or prove causation. It is common even in athletes without pain. Scapular motion becomes clinically relevant when changing or training it meaningfully improves symptoms, force, endurance, confidence, or the overhead task.
Should I stretch my lats or thoracic spine before every WOD?
Only if testing suggests that a relevant motion is limited and the mobility work improves the position you need. The lats, teres major, shoulder joint, scapula, thoracic region, and—in an overhead squat—the hips and ankles can all influence the final shape. More stretching is not automatically the answer when the main limitation is strength, control, irritability, or fatigue tolerance.
Will an MRI or ultrasound show why the shoulder hurts?
Imaging can be important after trauma, marked weakness, suspected dislocation or fracture, an unclear presentation, or symptoms that are not improving as expected. It does not always identify the pain source by itself. Structural findings can appear without symptoms, and a small CrossFit ultrasound study found few differences between painful and nonpainful shoulders beyond bursal thickness. The scan still needs the history, examination, and exact movement for context.
When can I return to kipping pull-ups, snatches, or handstand work?
Readiness is a progression, not a single pain-free rep. Build the relevant motion and strength first, then overhead holds or controlled repetitions, the technical movement while fresh, repeat volume, transitions, and finally the density and fatigue of the intended workout. The during- and next-day response should remain stable as each demand returns.

Written & clinically reviewed by
Dr. Brandon Lim, PT, DPT, CMTPT, FMSC
Dr. Lim is the founder of Limitless Physiotherapy in Columbia, Maryland. His one-on-one approach integrates detailed examination, movement assessment, manual therapy, dry needling, and progressive exercise according to each person's presentation and goals.
Meet Dr. LimSelected sources
Evidence behind the discussion.
- Desmeules F, Roy JS, Lafrance S, et al. Rotator Cuff Tendinopathy Diagnosis, Nonsurgical Medical Care, and Rehabilitation: A Clinical Practice Guideline. Journal of Orthopaedic & Sports Physical Therapy, 2025.
- Rodríguez MÁ, García-Calleja P, Terrados N, et al. Injury in CrossFit: A Systematic Review of Epidemiology and Risk Factors. The Physician and Sportsmedicine, 2022.
- Schwank A, Blazey P, Asker M, et al. 2022 Bern Consensus Statement on Shoulder Injury Prevention, Rehabilitation, and Return to Sport. Journal of Orthopaedic & Sports Physical Therapy, 2022.
- Burn MB, McCulloch PC, Lintner DM, et al. Prevalence of Scapular Dyskinesis in Overhead and Nonoverhead Athletes: A Systematic Review. Orthopaedic Journal of Sports Medicine, 2016.
- Liaghat B, Pedersen JR, Husted RS, et al. Diagnosis, Prevention and Treatment of Common Shoulder Injuries in Sport: Grading the Evidence. British Journal of Sports Medicine, 2023.
- Ultrasound-Based Morphological and Functional Assessment in Male CrossFit Athletes With Unilateral Subacromial Shoulder Pain: An Observational Study. Medicina, 2025.
- Barrett E, O'Keeffe M, O'Sullivan K, et al. Is Thoracic Spine Posture Associated With Shoulder Pain, Range of Motion and Function? A Systematic Review. Manual Therapy, 2016.
When to seek prompt medical attention for overhead shoulder pain
Evidence note: CrossFit injury studies are heterogeneous and often rely on self-reported injuries. One systematic review found the shoulder was the most commonly reported region, but limited study quality prevented firm conclusions about individual risk factors. Those group statistics cannot diagnose one athlete or prove that a particular movement caused the problem.
Seek prompt assessment after a visible deformity or suspected dislocation, a traumatic pop with bruising and marked weakness, inability to raise or use the arm after trauma, recurrent slipping or giving way, or rapidly progressive weakness, numbness, or loss of coordination. A hot, red, markedly swollen shoulder with fever also needs timely medical evaluation.
Shoulder or arm symptoms with chest pressure, shortness of breath, sweating, nausea, faintness, or other concerning systemic signs require emergency care.
Visual note: Article images are illustrative and may be digitally generated or edited. They do not depict a specific patient, diagnosis, treatment result, or expected outcome.